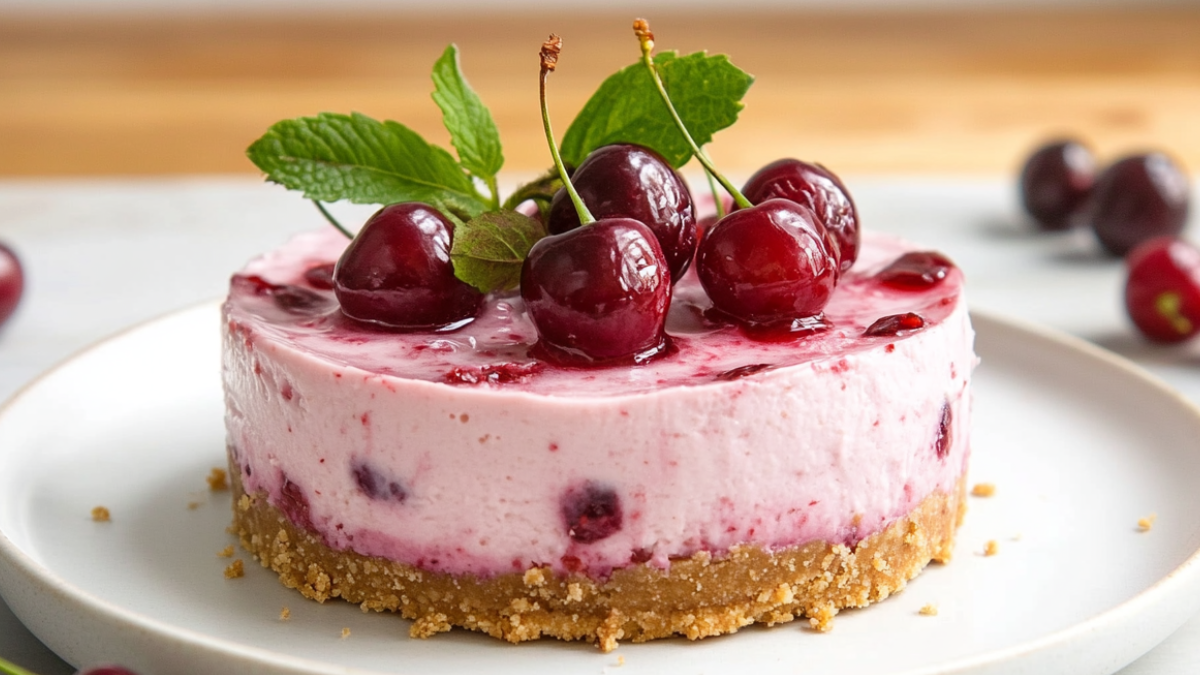
Cherry Cheesecake Recipe: Your Guide to a Perfect Dessert
Are you in search of a dessert that’s both indulgent and timeless? This cherry cheesecake recipe combines the creamy, tangy richness of a cheesecake with the sweet, luscious flavor of cherries. It’s an ideal treat for special occasions or simply when you want to spoil yourself.
What Makes Cherry Cheesecake Irresistible?
Cherry cheesecake is a classic for good reason. The velvety texture of the cheesecake pairs beautifully with the tart and sweet notes of the cherry topping. Together, they create a flavor combination that is hard to resist.
In addition to its delightful taste, cherries offer a range of health benefits. These nutrient-rich fruits are loaded with antioxidants, vitamins, and minerals, making them a wholesome ingredient. To learn more, you can visit Medical News Today. Meanwhile, perfecting your cheesecake involves techniques like using a water bath, which are explained in detail by King Arthur Baking.
Ingredients for Cherry Cheesecake
Crust
To make the base of your cheesecake, you’ll need:
- 1 ½ cups graham cracker crumbs
- ⅓ cup melted butter
- ¼ cup granulated sugar
Filling
The creamy filling is made using these ingredients:
- 24 oz (3 blocks) cream cheese, softened
- 1 cup granulated sugar
- 3 large eggs
- 1 teaspoon vanilla extract
- ½ cup sour cream
Cherry Topping
Top your cheesecake with a sweet, tangy layer made from:
- 1 can cherry pie filling or 2 cups fresh cherries
- 1 tablespoon lemon juice
Step-by-Step Guide to Making Cherry Cheesecake
1. Prepare the Crust
First, preheat your oven to 325°F (160°C). While waiting, mix graham cracker crumbs, melted butter, and sugar in a medium-sized bowl until the mixture is well combined. Next, press the mixture evenly into the bottom of a springform pan. Bake for 10 minutes, then set the crust aside to cool completely.
2. Make the Cheesecake Filling
While the crust cools, beat cream cheese and sugar in a large mixing bowl until smooth and creamy. Gradually add the eggs, one at a time, ensuring each is fully incorporated before moving on. Finally, stir in the vanilla extract and sour cream, mixing gently to maintain a light texture.
3. Assemble and Bake
Pour the prepared filling over the cooled crust and smooth the surface with a spatula. To ensure even baking and prevent cracks, place the springform pan into a water bath. Bake for 50–60 minutes, or until the edges are set and the center remains slightly jiggly. Once the baking is done, turn off the oven and allow the cheesecake to cool inside with the door slightly open.
4. Add the Cherry Topping
After the cheesecake has cooled completely, spread the cherry topping evenly over the surface. Refrigerate for at least 4 hours, or ideally overnight, to allow the flavors to develop fully.
Tips for a Perfect Cherry Cheesecake
Making a flawless cheesecake is simple if you follow these tips:
- Avoid Cracks: Always use a water bath and refrain from overmixing the batter, as this can introduce air bubbles.
- Choose Your Cherries Wisely: Fresh cherries add a homemade touch, but canned options work perfectly as well.
- Cool Gradually: Allowing the cheesecake to cool slowly in the oven helps to prevent sudden temperature changes that cause cracks.
Creative Variations of Cherry Cheesecake
This dessert can be adapted to suit various preferences. Consider these creative twists:
- No-Bake Cherry Cheesecake: Skip the baking process entirely by using a gelatin-based filling for a quicker option.
- Mini Cheesecakes: Create individual portions by using a muffin tin, which is great for serving at parties.
- Dietary Modifications:
- Gluten-Free: Replace graham crackers with gluten-free cookies.
- Vegan: Use plant-based cream cheese and sour cream alternatives.
Serving Suggestions
To enhance your cheesecake experience, try these serving ideas:
- Top each slice with whipped cream or drizzle it with melted chocolate for added indulgence.
- Pair the dessert with a cup of coffee or tea for a cozy treat.
- Add mint leaves or chocolate shavings to make the presentation more elegant.
Storage and Shelf Life
Storing your cheesecake correctly ensures it stays fresh:
- Refrigeration: Keep it in an airtight container in the refrigerator for up to 5 days.
- Freezing: Wrap individual slices tightly in plastic wrap and freeze for up to 2 months. Thaw them in the fridge before serving.
Frequently Asked Questions About Cherry Cheesecake
Can I use fresh cherries instead of canned?
Absolutely! Fresh cherries are a fantastic choice. Cook them with sugar and lemon juice to create a syrupy topping that complements the cheesecake beautifully.
How do I prevent my cheesecake from cracking?
To prevent cracks, use a water bath during baking and avoid overmixing the batter. Additionally, gradual cooling reduces the risk of cracking.
Can I make cherry cheesecake ahead of time?
Yes, you can! Preparing the cheesecake a day in advance not only saves time but also improves its flavor and texture after chilling overnight.
What is the best type of crust for cherry cheesecake?
A graham cracker crust is the traditional choice. However, Oreo cookies or digestive biscuits can add a unique twist to your dessert.
How long does cherry cheesecake last in the fridge?
Properly stored, cherry cheesecake can last up to 5 days. Be sure to cover it tightly to maintain freshness and prevent it from absorbing other odors.
Conclusion
This cherry cheesecake recipe is a delightful fusion of creamy textures and tangy flavors. Whether you’re a seasoned baker or a beginner, this recipe offers straightforward steps to create a dessert that will impress anyone who tries it. Gather your ingredients, follow these helpful tips, and treat yourself to the ultimate slice of homemade cherry cheesecake!

