
These Chocolate Chip Lunchbox Bars are soft-centered, lightly sweet squares made with 1 cup nut butter, 2/3 cup pure maple syrup, and 1/2 cup flour, studded with chocolate chips and optional dried fruit or coconut for texture.
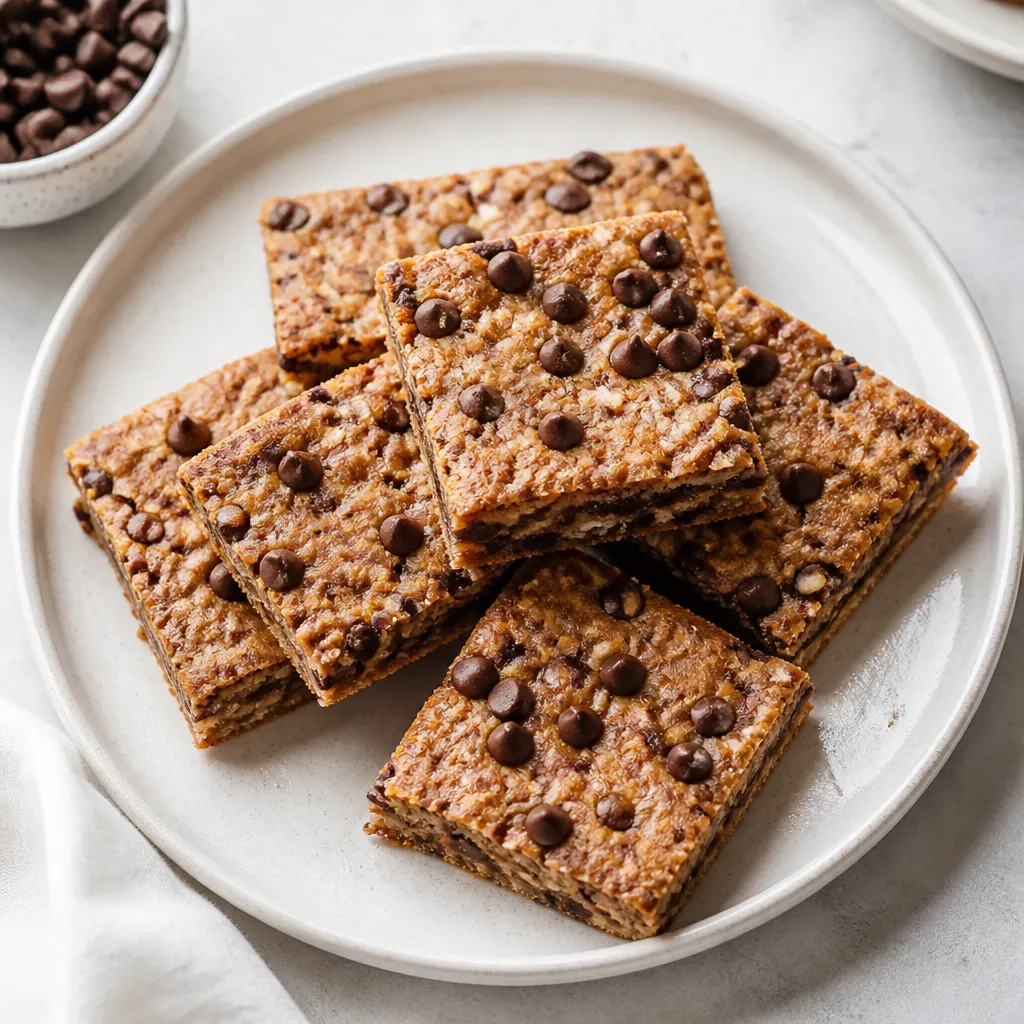
They bake on the center rack at 325 F in about 13 minutes; remove when slightly underdone for gooey bars or cool overnight for firm, packable squares — ideal for quick school lunches or make-ahead snacks.
Why You’ll Love These Bars
A few pantry staples, a single bowl, and a short 13-minute bake deliver snack bars that are lightly sweet, portable, and easy to adapt for allergies or texture preference.
These bars are fast to make, travel well, and scale easily — perfect for Back to School snack prep or a weekday treat.
How to Make Chocolate Chip Lunchbox Bars
- Preheat the oven to 325 F. Line an 8-inch square pan with parchment, or grease the pan well, and set aside.
- If the nut butter is not easily stir-able, gently warm it just until it loosens so it mixes smoothly — do not overheat.
- In a mixing bowl, combine the nut butter, 2/3 cup pure maple syrup (or keto syrup, honey, or agave), 1/2 cup flour (spelt, white, oat, sorghum, or almond work), 11/2 tsp baking soda, 1 tsp pure vanilla extract, 1/8 tsp salt, 2-3 tbsp chocolate chips, and 2-3 tbsp raisins or chopped dates. Stir very well to fully incorporate and avoid any clumps of baking soda.
- Transfer the batter to the prepared 8-inch square pan. Smooth the top with a spatula or a second sheet of parchment (then remove the second sheet). If you like, press additional chocolate chips or dried fruit into the surface for a prettier top.
- Bake on the center rack for 13 minutes (increase to 15 minutes if using almond flour). The bars should look slightly underdone when you remove them from the oven.
- Let the pan sit at room temperature for 30 minutes if you want extra gooey bars, or cool and rest overnight for firmer, set cookie bars that are easier to cut and pack.
Choose the Best Nut Butter
The nut butter defines flavor and spreadability. Smooth peanut, almond, or cashew work well; for a milder taste use sunflower or pumpkin seed butter as an allergy-friendly sub.
- For classic flavor: smooth peanut butter.
- For lighter flavor: almond or cashew butter.
- For nut allergies: sunflower or pumpkin seed butter (watch for added salt or oil).
Bake for Gooey or Firm
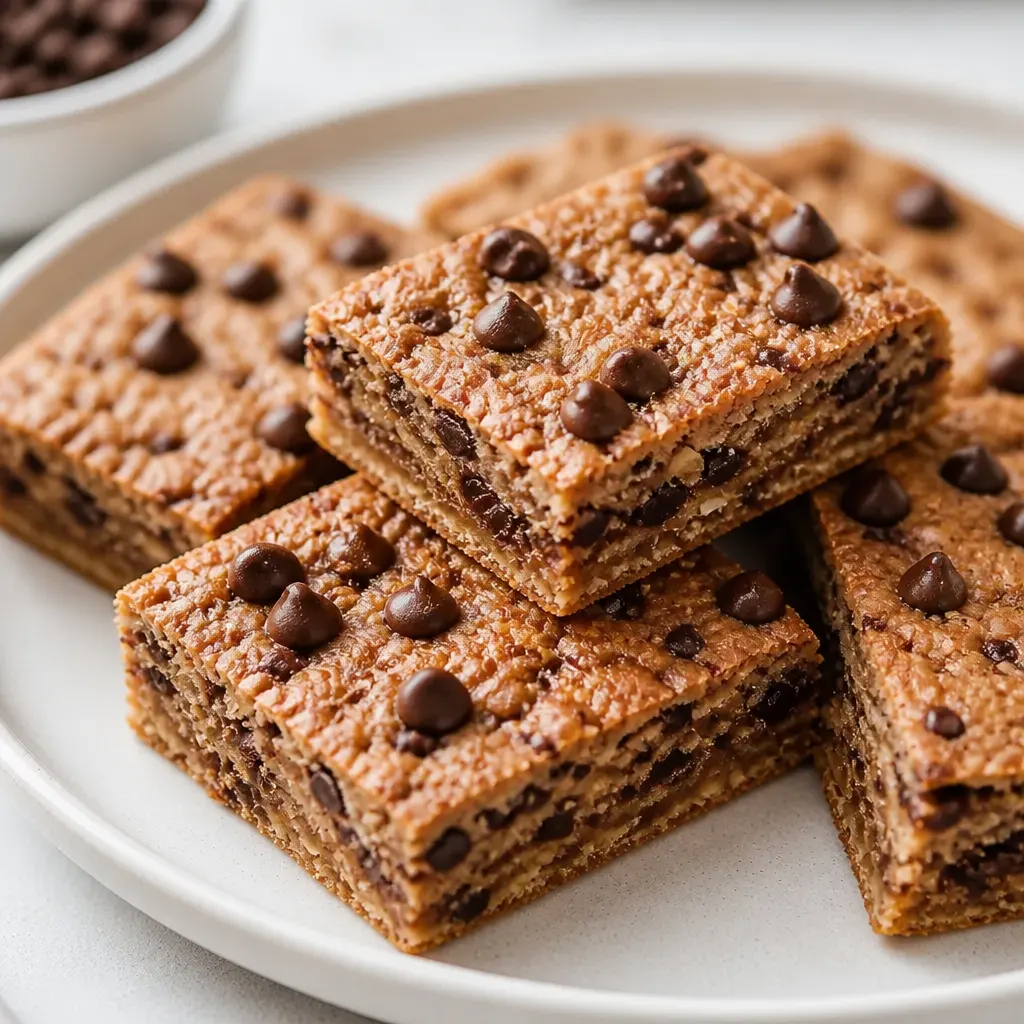
Baking time and cooling determine texture. The recipe’s 13-minute bake yields slightly underdone edges and a soft center — perfect if you want chewy, gooey bars.
- 13 minutes: remove when slightly underdone for a soft, gooey interior.
- 15 minutes: use only if using almond flour to ensure proper set.
- 30-minute rest: gives slightly gooey bars that hold together better for cutting.
- Overnight rest: cool and rest overnight for firm, sandwichable squares.
Allergy-Friendly Swaps
This recipe adapts well: swap seed butters for nut-free bars, and choose gluten-free flours such as oat or sorghum if needed. Keto or sugar-free syrup options are listed in the recipe card for lower-sugar versions.
- Nut-free: replace nut butter with sunflower or pumpkin seed butter.
- Gluten-free: use oat, sorghum, or almond flour (note almond flour may need an extra 2 minutes baking time).
- Lower sugar: use a keto or sugar-free syrup alternative noted in the ingredient card.
Tips for Success
Control the texture: Remove the bars when they look slightly underdone for a gooey center. For firmer, lunchbox-friendly bars, cool the pan completely and refrigerate overnight before slicing.
Warm nut butter gently: If the nut butter is stiff, warm it briefly (in short bursts in the microwave or over a warm water bath) so it stirs easily — this prevents pockets of oil or dry clumps.
Packing and storage: Store bars in an airtight container: room temperature for 2 days, refrigerated for up to 1 week. For school lunches, keep in an insulated pack with a small ice pack if you prefer them firmer or live in warm climates.
Save This Recipe
Frequently Asked Questions
Make-Ahead and Serving
These bars are ideal for make-ahead snack prep: bake once, slice, and stash extras in the fridge or freezer for quick lunches and after-school treats.
Customize mix-ins and swaps from the ingredient card to suit tastes and allergies, and remember the 13-minute bake is your shortcut to gooey, chewy results.
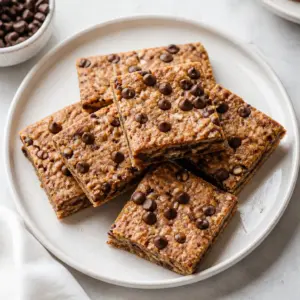
Chocolate Chip Lunchbox Bars
Equipment
- 8-inch square pan
- parchment paper
- mixing bowl
- spatula
- oven
Ingredients
Ingredients
- 1 cup nut butter of choice, or allergy friendly sub
- 2/3 cup pure maple syrup or keto syrup, or honey, or agave (Or here’s a sugar free version: Chocolate Chip Peanut Butter Bars)
- 1/2 cup flour spelt, white, oat, sorghum, or almond work
- 2-3 tbsp regular or mini chocolate chips
- 2-3 tbsp raisins, chopped dates, or additional mini chips
- 2 tbsp shredded coconut and/or crushed walnuts optional
- 11/2 tsp baking soda
- 1 tsp pure vanilla extract
- 1/8 tsp salt
Instructions
- Preheat the oven to 325 F. Line an 8-inch square pan with parchment, or grease the pan, and set aside.
- If the nut butter is not easily stir-able, gently warm it until it softens.
- In a bowl, stir all ingredients very well so everything is fully incorporated and there are no clumps of baking soda.
- Transfer the batter to the prepared pan and smooth the top with a spatula or a second sheet of parchment; remove the second sheet if used.
- If desired, press additional chocolate chips or dried fruit into the top.
- Bake on the center rack for 13 minutes (increase to 15 minutes if using almond flour); the bars should look slightly underdone when removed.
- Let the pan sit for 30 minutes for extra gooey bars, or cool and rest overnight for firmer, set cookie bars.